
Calibrate 1/4-Inch Seam Allowances
Printer friendly PDF: Sewing Machine Seam Test Calibration — (print at 100% — do not "fit to page" or scale the size.)
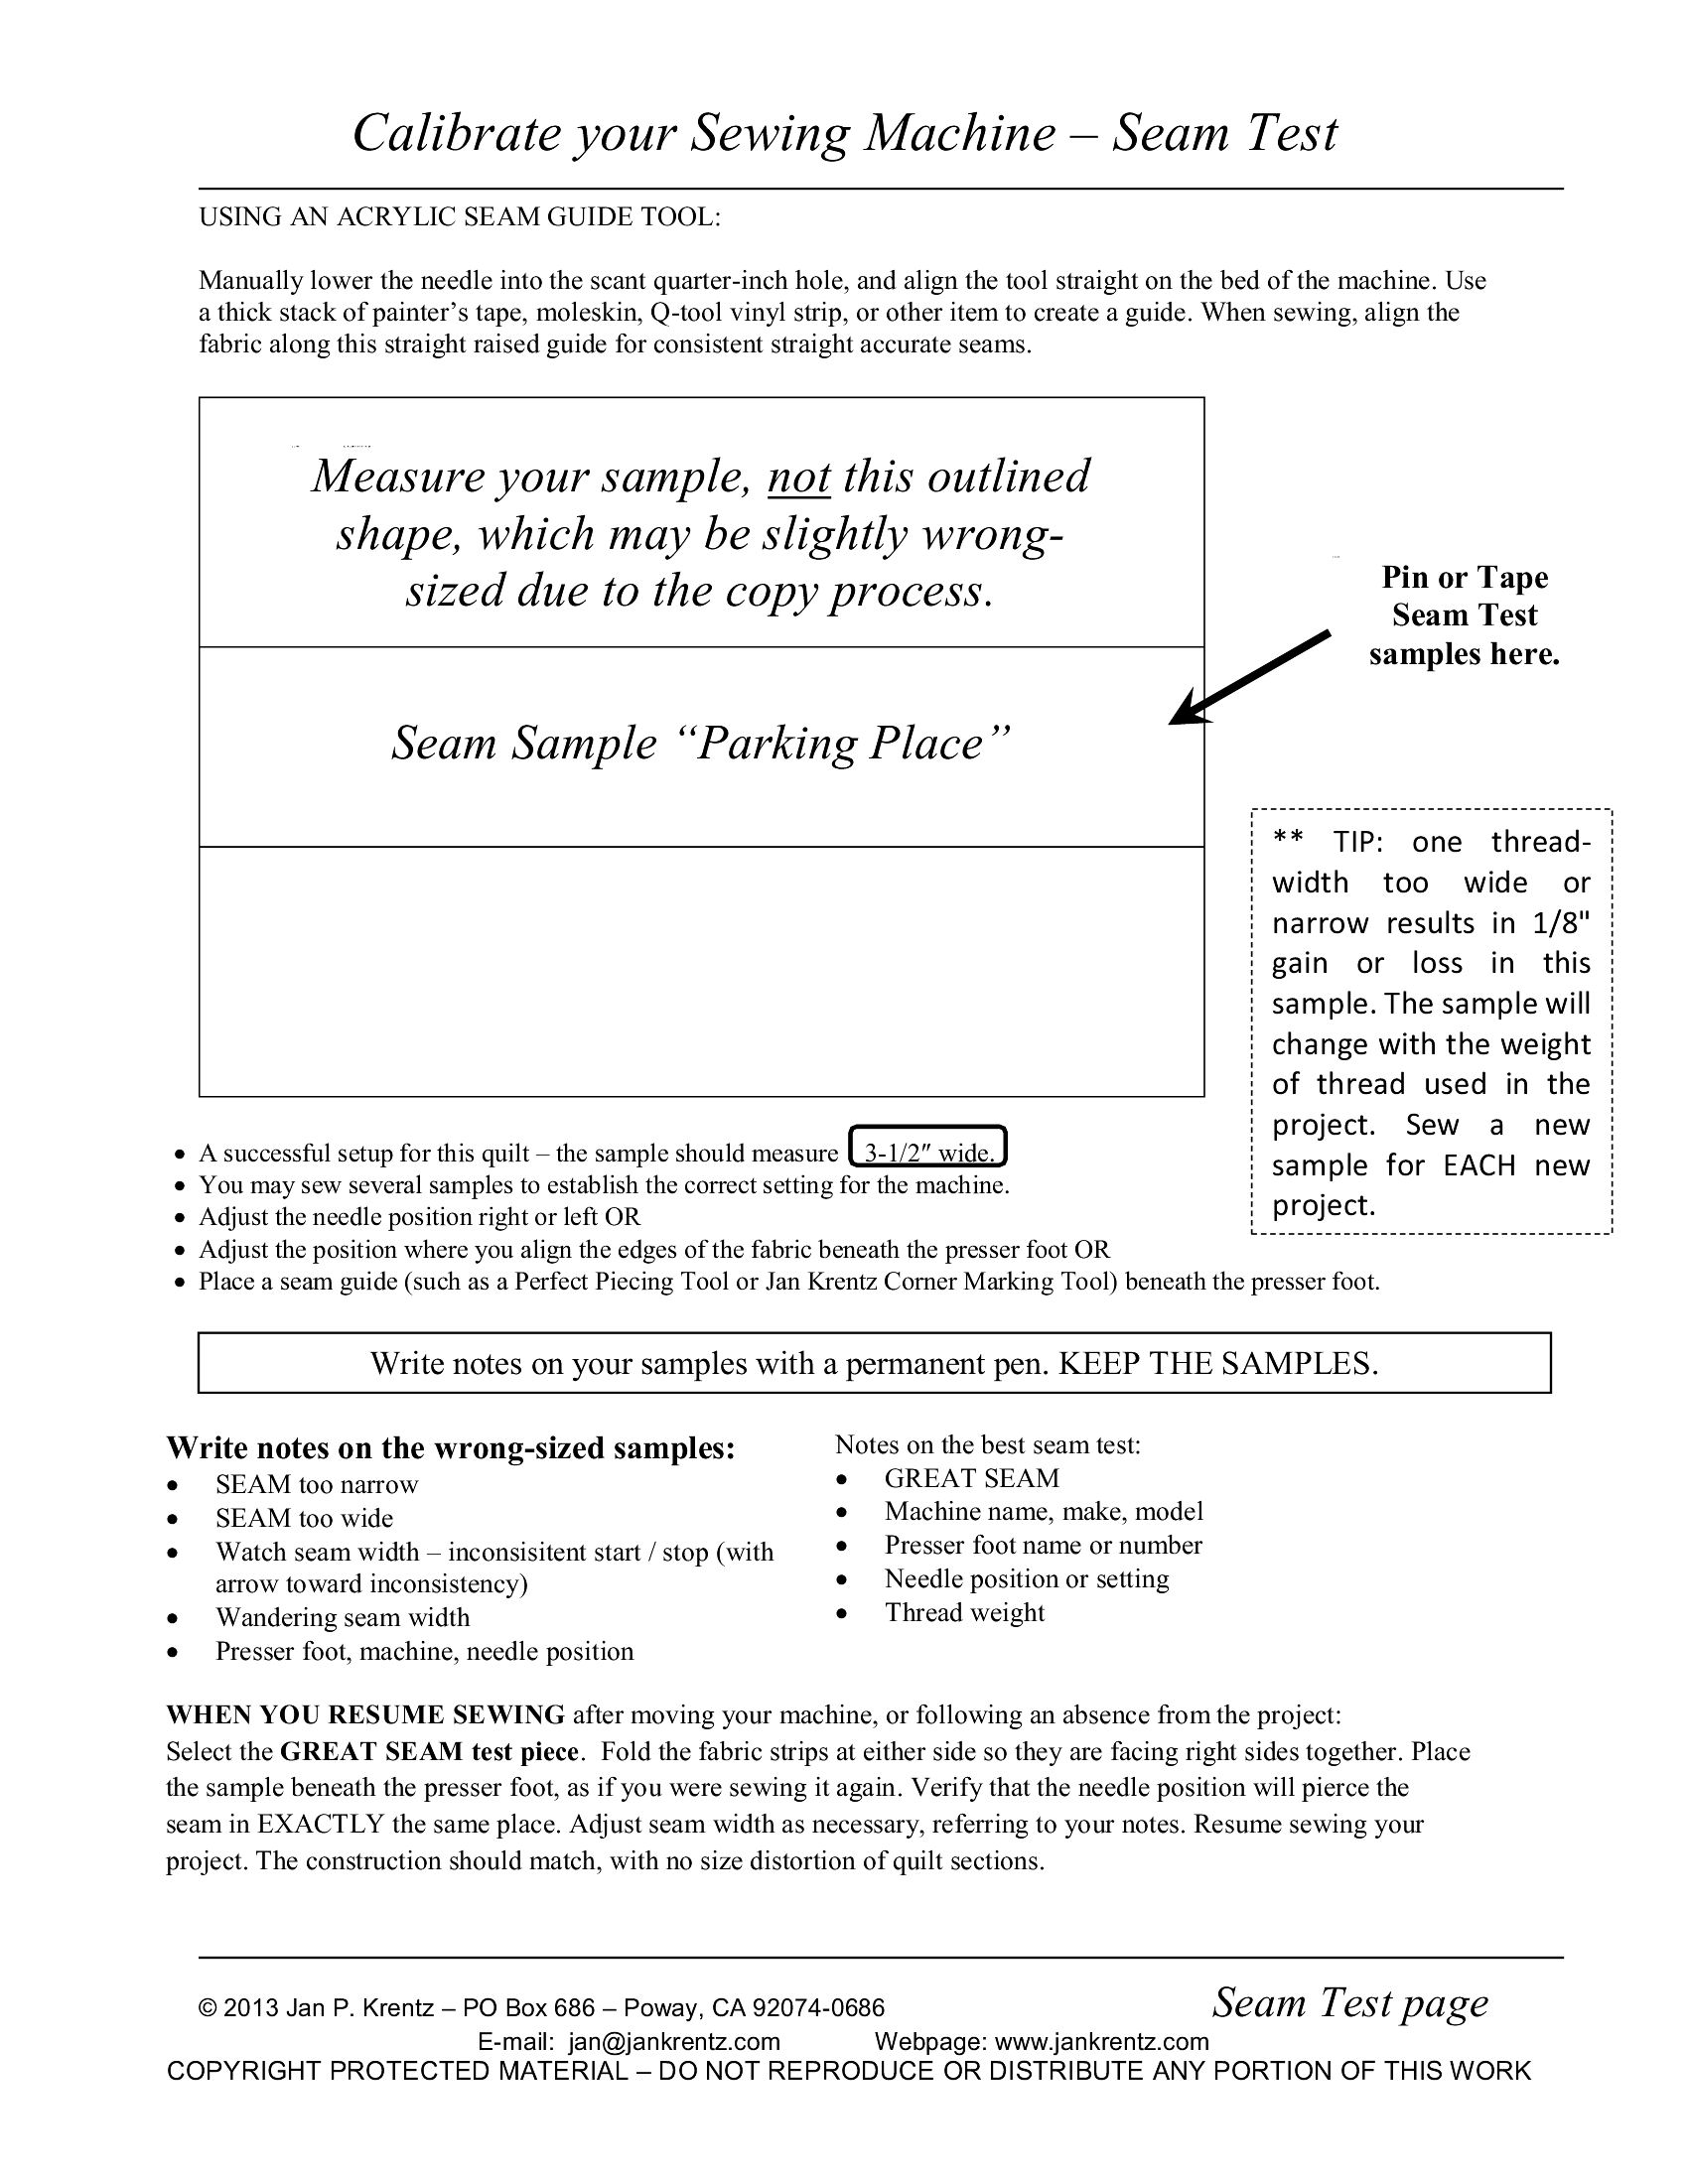
During workshops, I distribute a 2-sided seam test page to all students. The workshop information is available here for your use; print as many copies as desired.
Keep 1 page with a fabric seam sample test attached, stored on the surface of each quilt project in progress.
When you resume stitching on a project, place the seam test (3 strips of fabric, stitched at the onset of the project) with two pieces right sides together beneath the presser foot (the previously stitched seam will be beneath the presser foot).
Lower the needle slowly by hand, and determine whether the seam will be in the correct place to match the original stitching. Adjust the needle position right or left if necessary to match the original seam width.
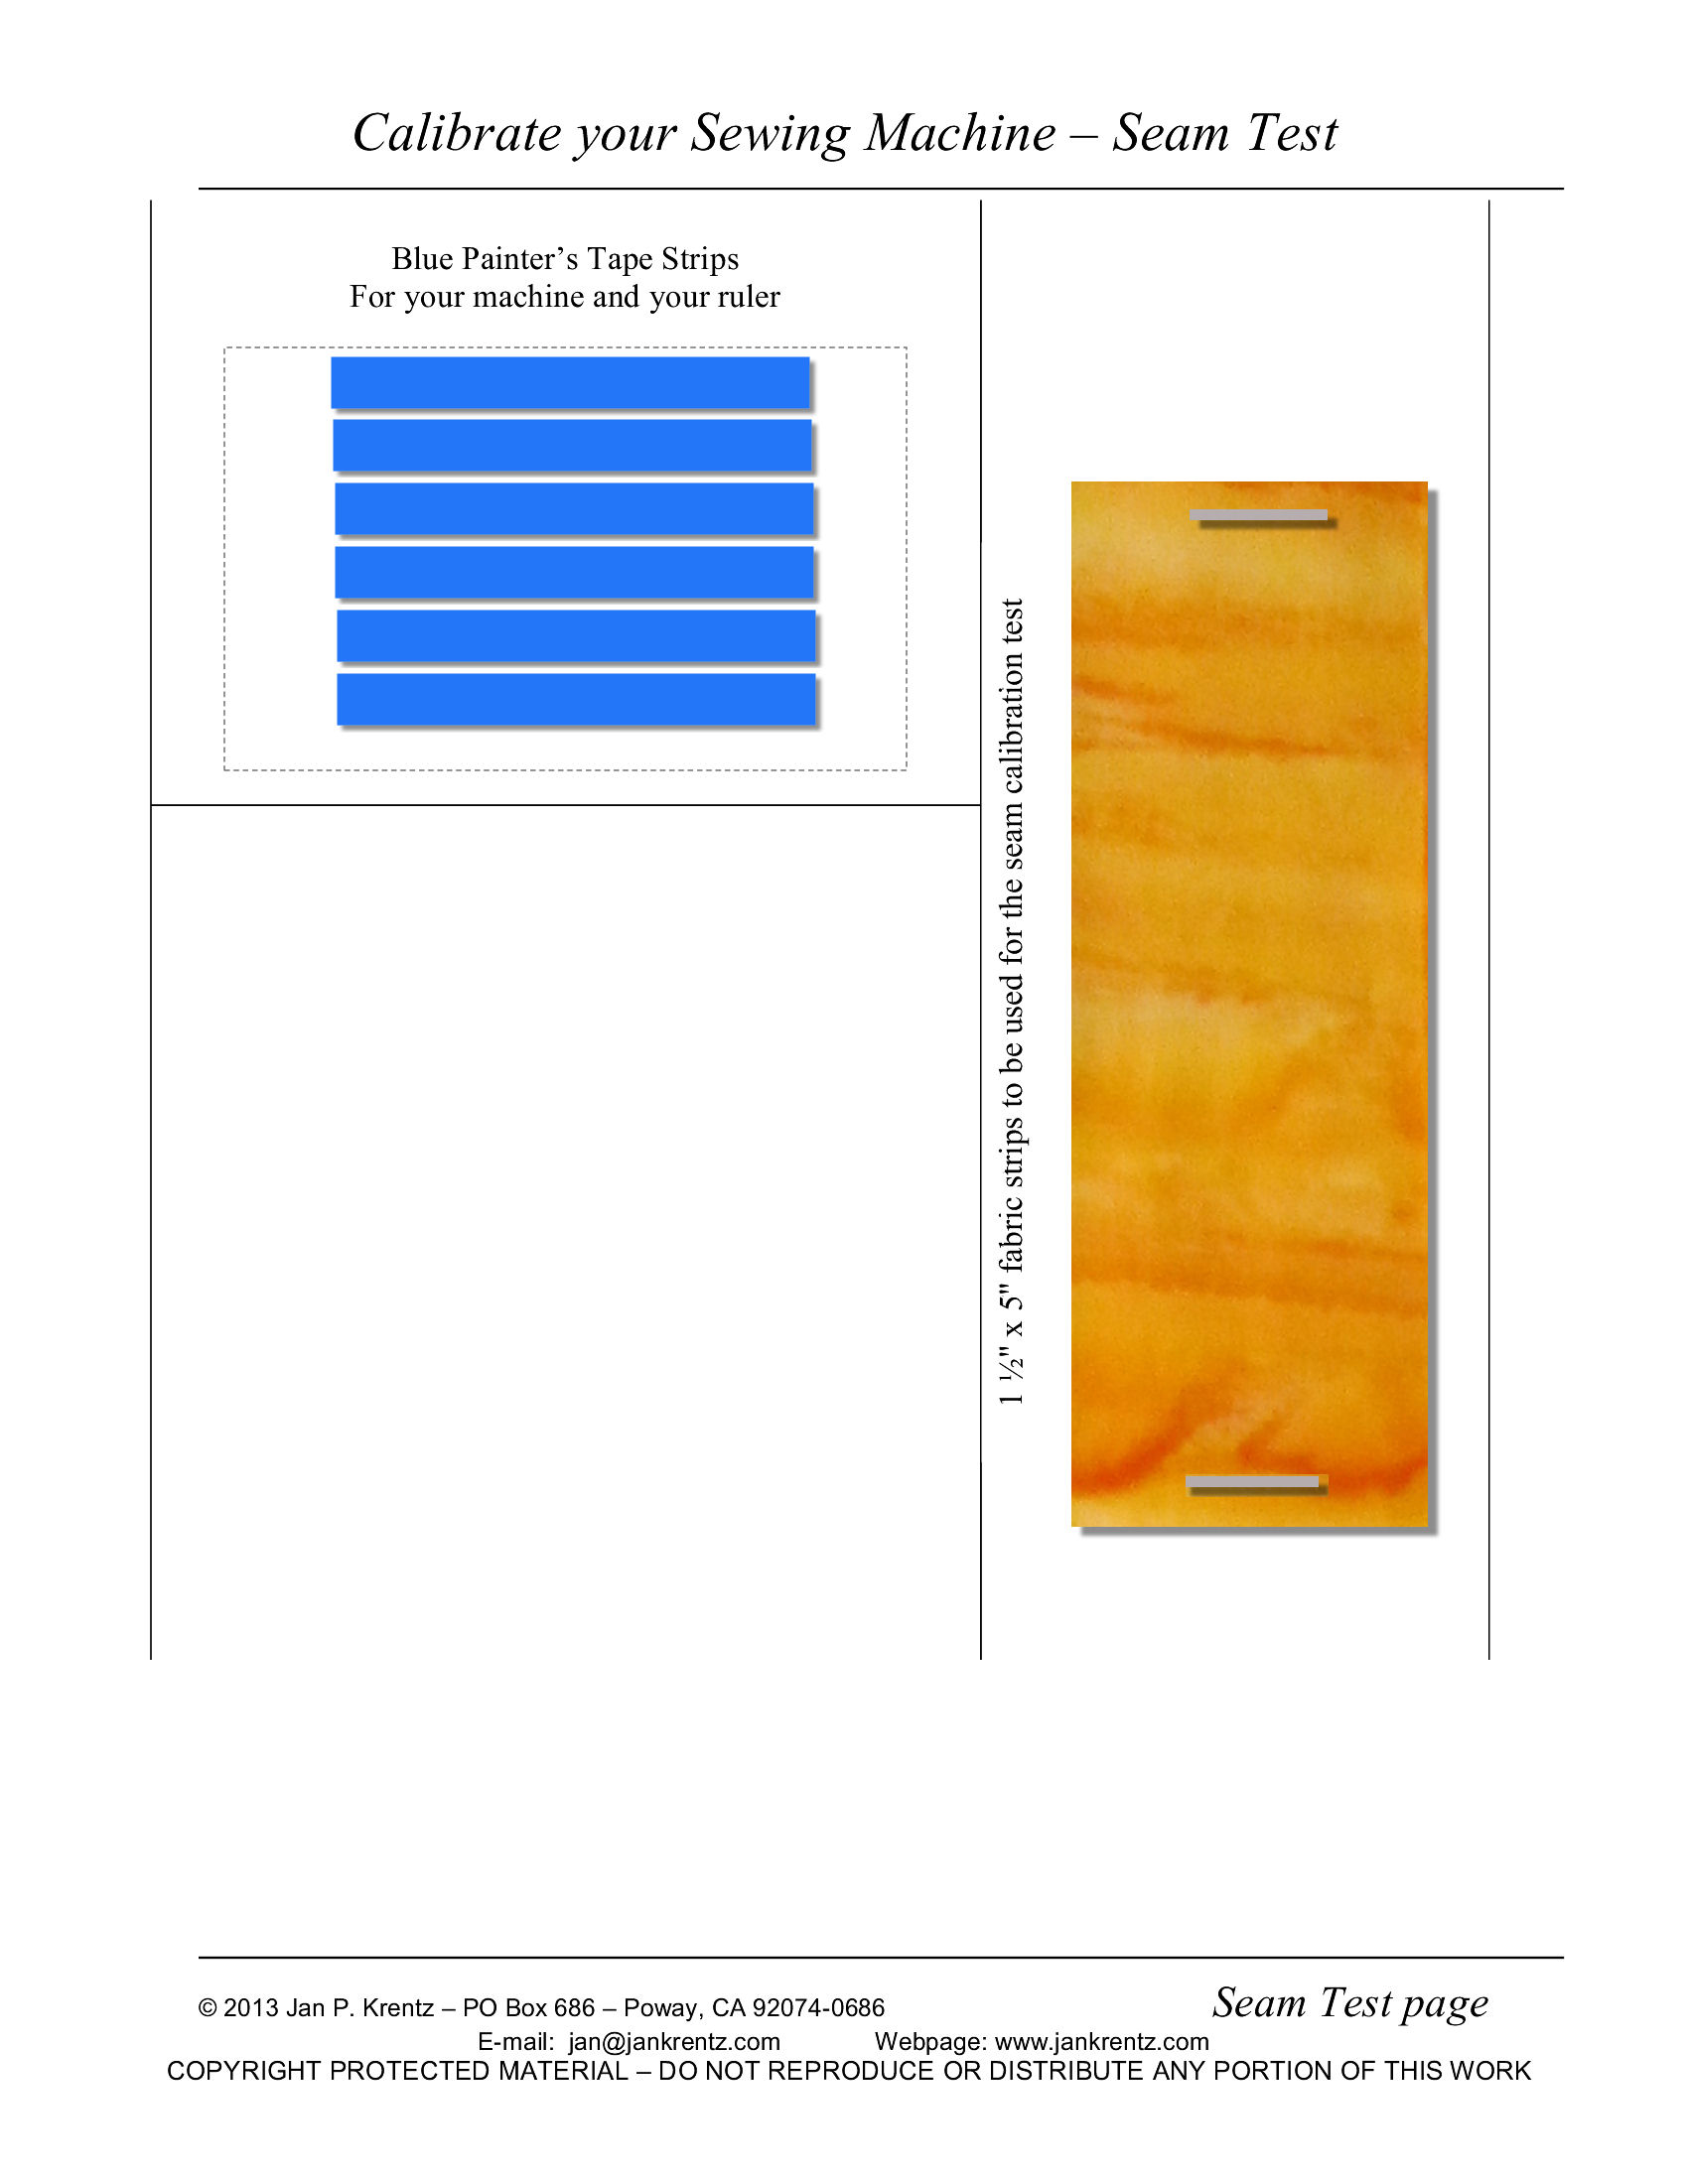
classroom handouts: pages 1 and 2. Page 2 contains blue painter's tape strips and nine 1-1/2" x 4-1/2" strips of cloth for the seam test.
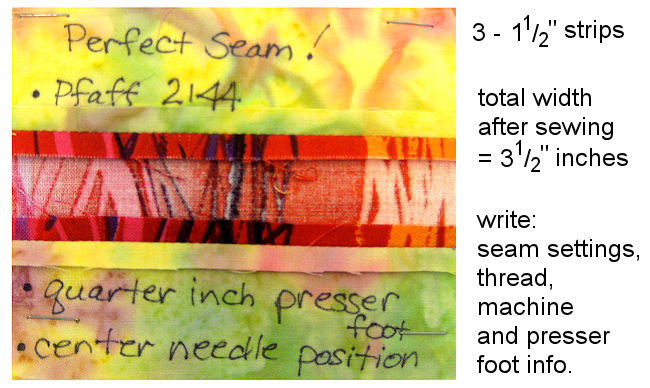
Write notes about your sewing machine settings on each sample, to simplify the process when you resume stitching on the project in the future.

