Archive for the ‘Monet Waterlily / Diamond Landscape Workshop’ Category

2012 – Commission Quilt – 4 – continue adding fabric


Wednesday, November 7th, 2012
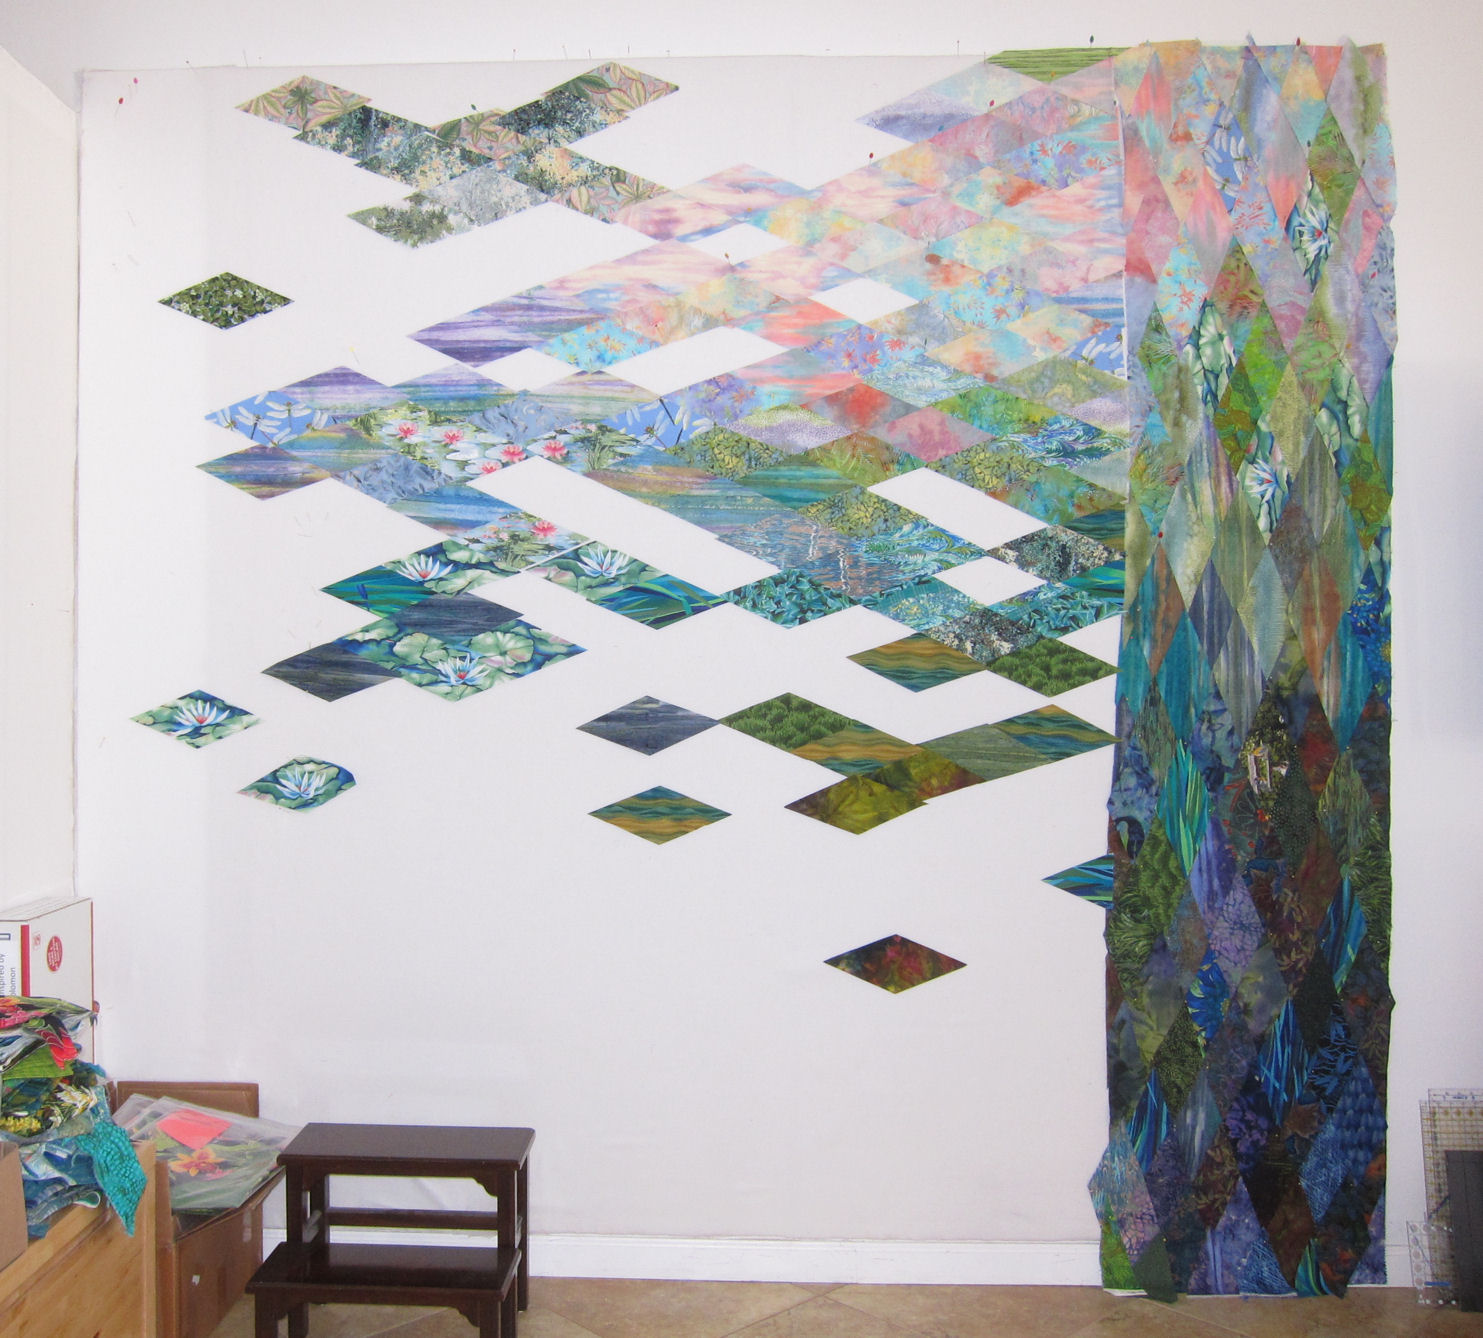
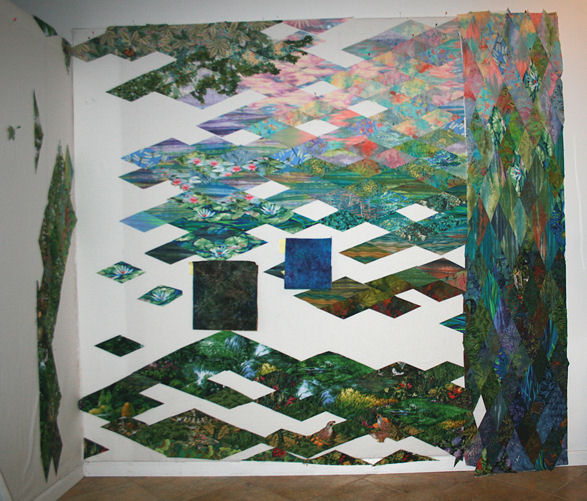
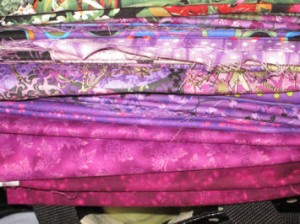
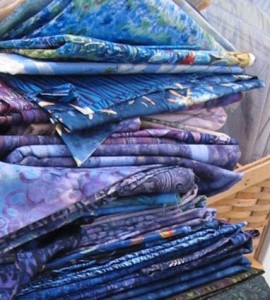
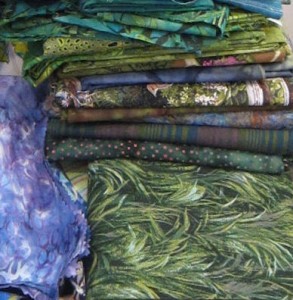
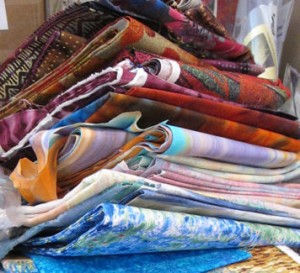
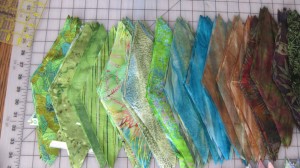
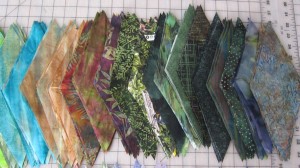
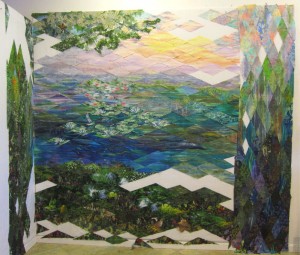
Months 4-5:  As the larger composition takes shape, I am challenged to find – or create − the ideal bridge fabrics. I spend as much time searching for fabrics, cutting single pieces from specific fabrics, or painting, stamping, or shopping for the missing pieces.  I am still teaching, traveling, packing and shipping my teaching equipment from place to place. This process takes a while because I am also teaching others how to make quilts!
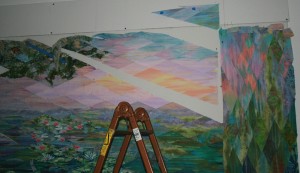
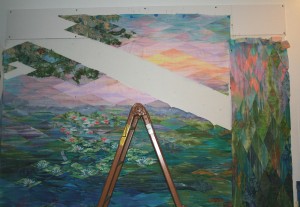
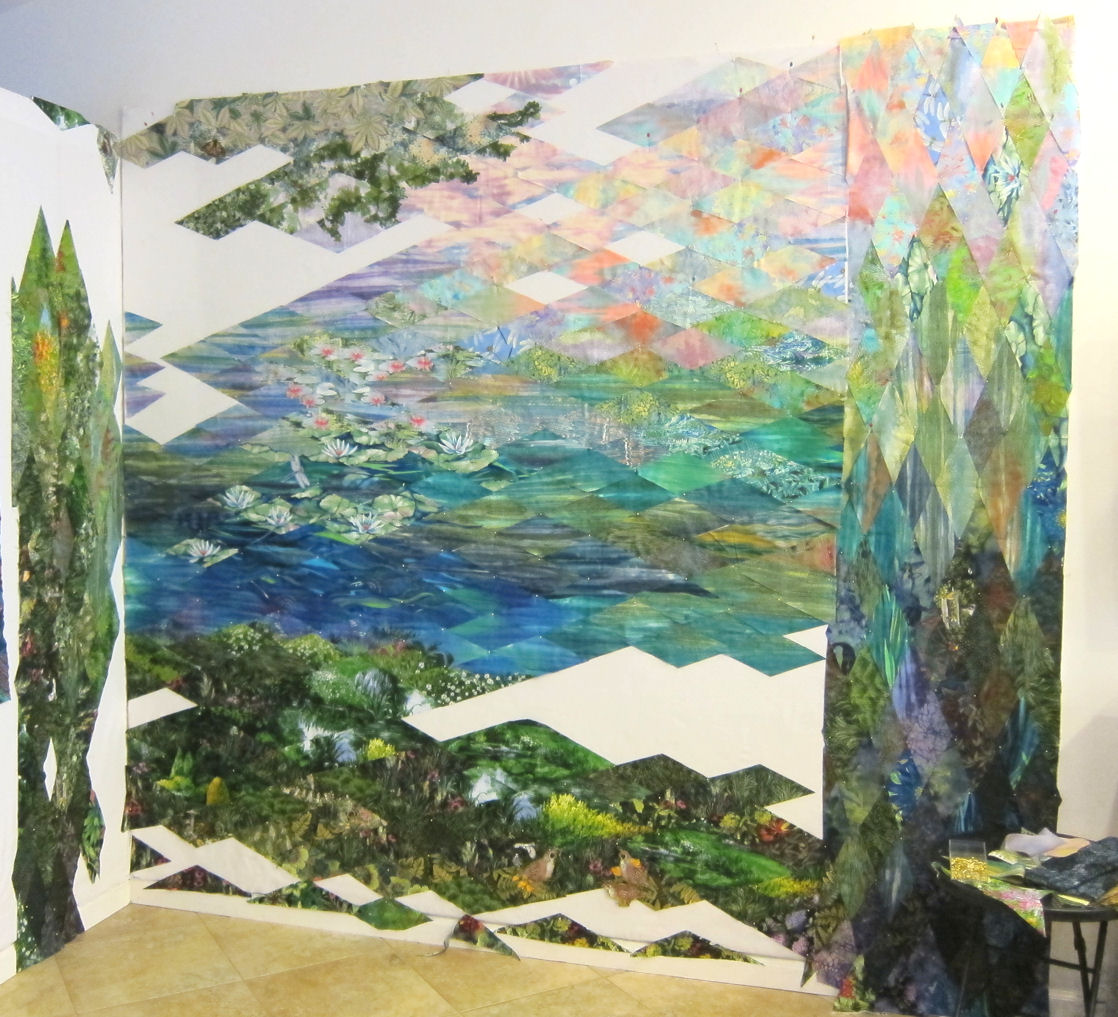
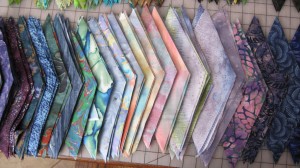
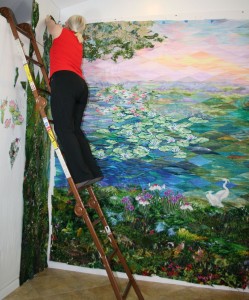
layout_6

Months 6-7:  When working high on the wall, my step stool and I get a workout! I eventually shift from a step stool to a ladder, and add another 18″ to the top of the design wall. The loose pieces are currently overlapped, and I know that sewing the seams will cause shrinkage. (This photo was taken later in the project – this was a tall project with lots of  “ladder time”!)

layout_7

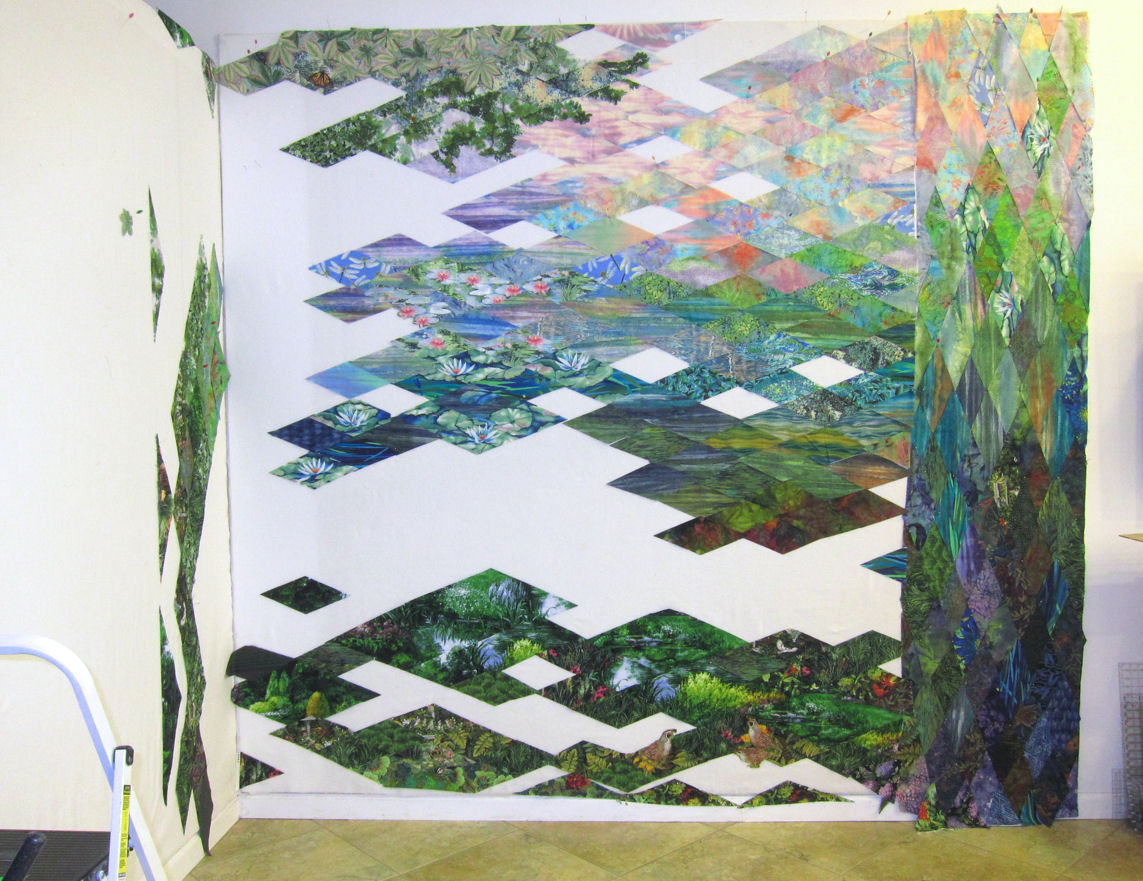
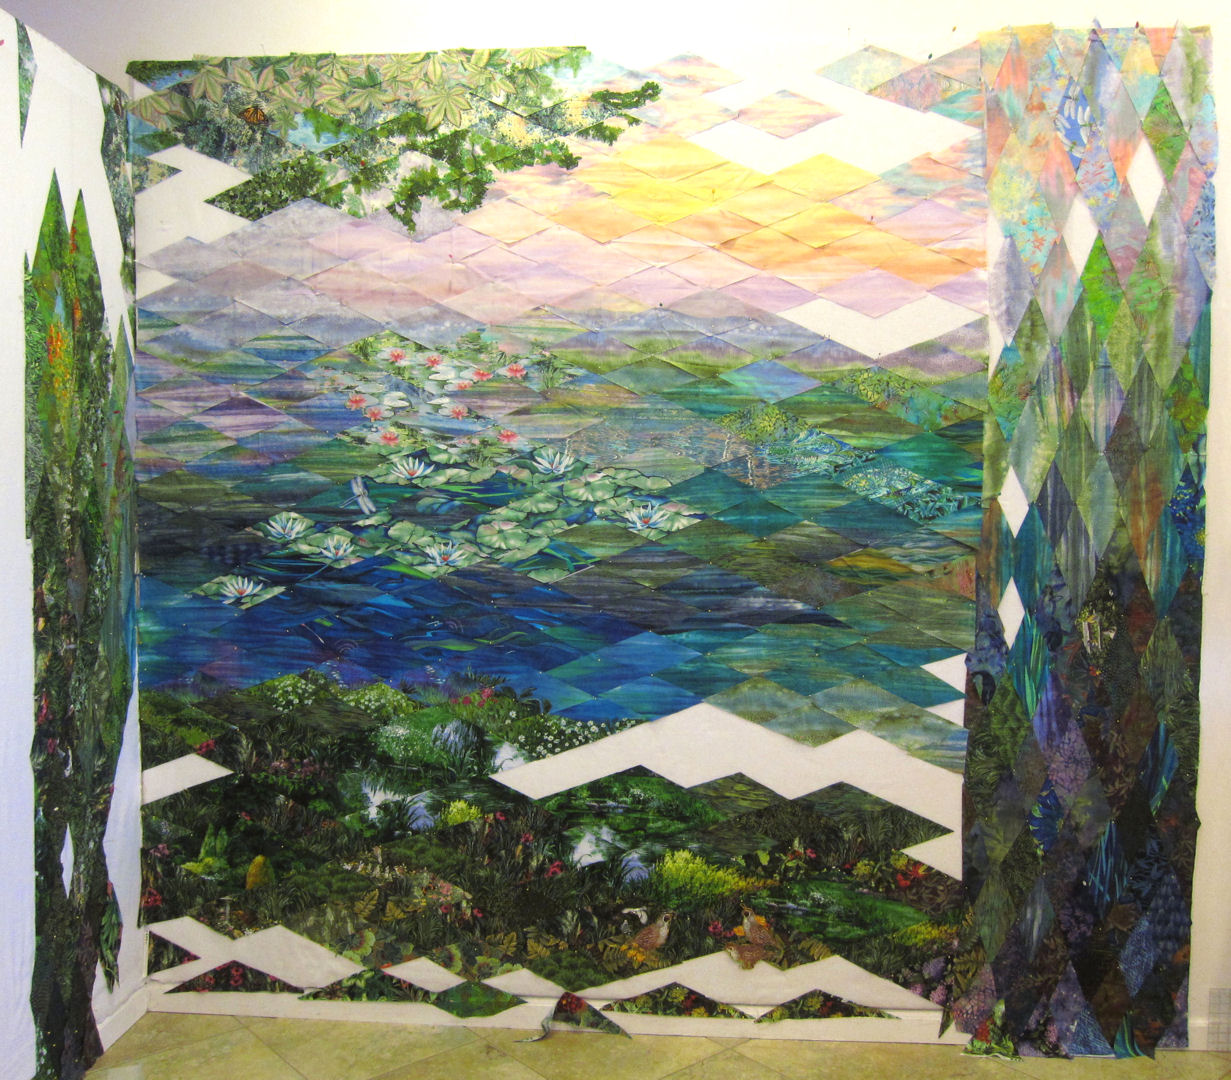
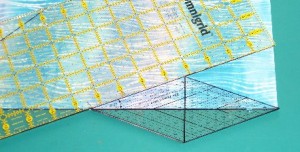
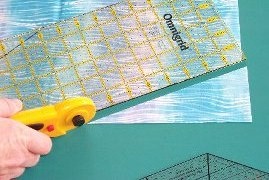
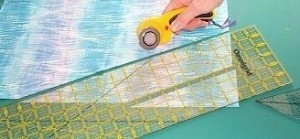
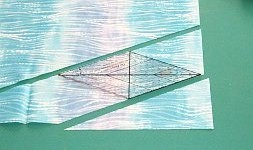
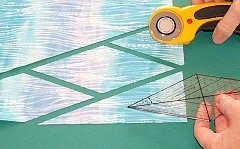
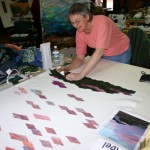
Month 8: Once I am happy with all of the fabrics, then I begin sewing diagonal rows of fabric diamonds. I keep the rows in manageable sizes, working one row at a time. Climb the ladder, secure all the loose pieces edge-to-edge, climb down, sew the seams, press, climb the ladder and re-position the pieced row. Continue to the next row. An audio book can be my best friend during this process! 

layout_8

layout_9

2012 – Commission Quilt – 3 – Begin design layout


Tuesday, November 6th, 2012

After cutting a palette of diamonds in various colors and values, I begin composing the design on my flannel-covered wall. This wall surface is “pinnable”, and I want to secure the pieces when I am satisfied with the results. This design wall is 8 feet tall, 9 feet wide. I am also arranging fabric on the left adjacent wall, too.

I arrange a batch of color, creating regions of dark (for the base) or blue-grey (for the water) or lighter values (blue, pink, peach, lavendar) for the sky. Then I search through my fabrics to find the perfect “transition” or “bridge” fabrics, which contain bits of the colors on either side of it.  Note the change in the sky between photos 4 and 5 – as I completed changed the fabrics in that area, seeking a smoother, sunnier color.

layout_1

layout_2

layout_3

layout_4

layout_5

2012 – Commission Quilt – 2 – Diamond Cutting Tutorial


Monday, November 5th, 2012

After selecting a wide range of fabrics as my initial palette, I decided the scale of my pieces. Since it was to be a large quilt, I cut 4-inch diamond shapes (as if you were cutting a strip 4″ wide, then sub-cutting it on a 45-degree angle into 4″ diamonds). I positioned my diamond tool in one corner of the fabric, so my strips were cut at an angle to the outer edges of the fabric. The resulting diamonds have slightly bias edges, and the grainline is straight through the body of the diamond shape.

Place a diamond tool at the edge of the fabric.

1. Place a diamond tool at the edge of the fabric. 2. Place a long ruler next to the smaller diamond tool.


Cut at this established angle from edge to edge.

3. Cut at this newly-established angle from edge to edge. [1/2 of a 45-degree angle = 22.5 degrees.]


Align the longer ruler with the freshly-cut edge.  Cut an angled strip, the desired width (3" in this photo).

4. Align the longer ruler with the freshly-cut edge. 5. Cut an angled strip, the desired width (3″ in this photo).


Re-position the smaller tool on the strip. The woven grainline should bisect the shape in the center.

6. Re-position the smaller tool on the strip. The woven grainline should bisect the shape in the center.


Cut one or several diamonds from the angled strip(s).

7. Cut one or several diamonds from the angled strip(s).


2012 – Commission quilt – 1 – Select fabric


Sunday, November 4th, 2012

  Early in 2012 I accepted a commission for a private client. The request was for a king-sized diamond quilt, reminiscent of Monet’s famous water lily paintings.

I first searched through my fabrics, arranging the stacks and photographing them for the client to see the range of colors and textures I was considering for their quilt. This became a monumental landslide of textural fabrics in all colorways.

00_fabric_purple_fabrics_b

00_blue-purple_b

00_green_b

00_fabric_rust&peach_b

2012 – Commission Quilt 3 – Diamond palette


Sunday, February 5th, 2012

After cutting, I created my “palette” of fabrics – quite a range, from lights through medium and dark, in a range of colors. I don’t cut too many pieces at this point, because I will likely need to fine-tune the number of fabrics I use. I can always cut a few more as needed during the design phase.

light to medium spring green

light to medium spring green


teal, brown, green

teal, brown, green


a range of blue colors from dark to light

a range of blue and purple colors from dark to light


detail - you can see some of the textures

detail – you can see some of the textures

Marge Abel’s Diamond Quilt


Wednesday, November 12th, 2008

In 2005 I taught a Diamond Landscape workshop at Asilomar in Pacific Grove, CA. Marge Abel was in the workshop, and designed her own quilt from a photographic inspiration. Here are photos of her work in progress, and Marge’s finished piece (fall, 2008). Great work, Marge! Congratulations!