

“Shirtings” project
Sunday, December 1st, 2013
Early 2013, my Tuesday quilting bee friends and I embarked upon a personal and shared group project…….. Personal, because we each create our own design and shared┬ĀŌłÆ because we each contributed fabric and second-hand shirts purchased at local stores who specialize in re-selling donated items. There are many thrift stores operated by local churches, and larger stores such as those by Salvation Army and Goodwill Industries, who also offer job training, rehabilitaion and disaster relief in addition to resale of donated goods.
Our primary desired objects? Fabulous men’s and women’s shirts:
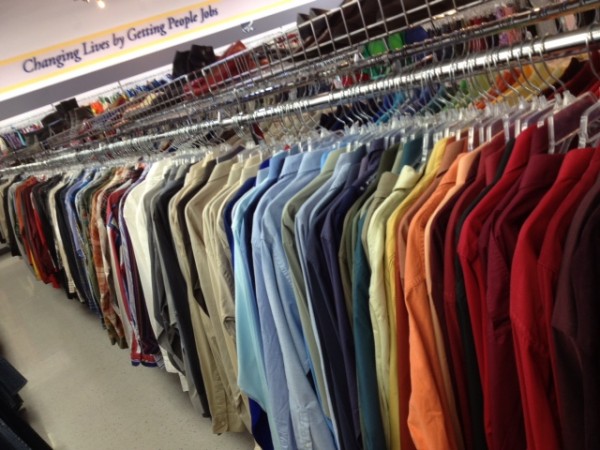
shirts are arranged by color hue
We each purchased shirts that appealed to us – whether it was the color, the pattern (solid, stripe or plaid), or size┬ĀŌłÆ translating into more yardage per garment! Some of us creatively searched the pajama pants and ladies’ dress aisles, capturing more bargains.
wonderful solid-color woven shirts
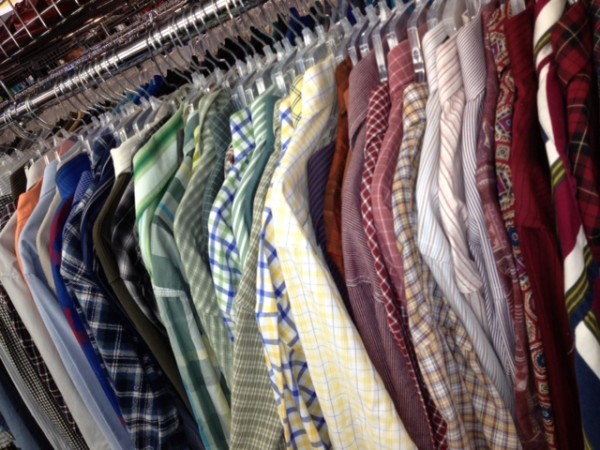
a myriad of plaid and striped shirts
NEXT: the garments were laundered to begin the projects with pre-washed fabric.
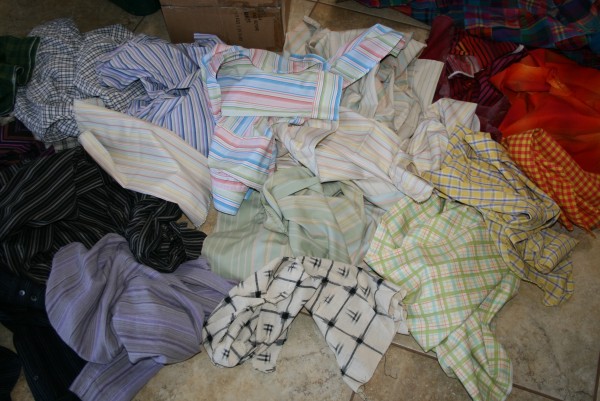
sorting the lighter colored shirts for washing
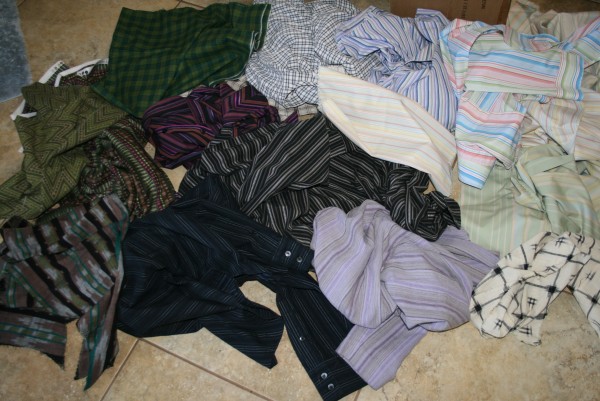
Shirts are ready for the laundry
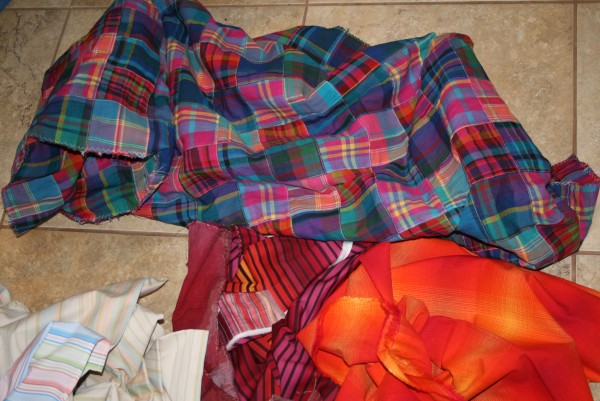
add some plaid and striped yardage to the mix
The garments are now “de-constructed”, breaking down the wearables into their flat-fabric forms once again. Collars, front button plackets and cuffs are set aside for future use (hmmm. Wonder what I can do with those?)
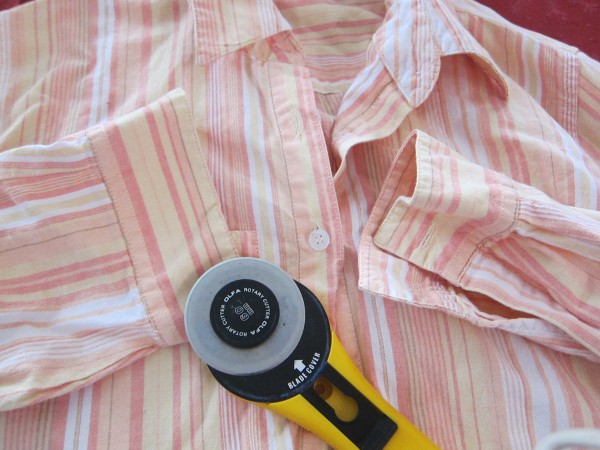
cut away collar, cuffs and button plackets with scissors or rotary cutter
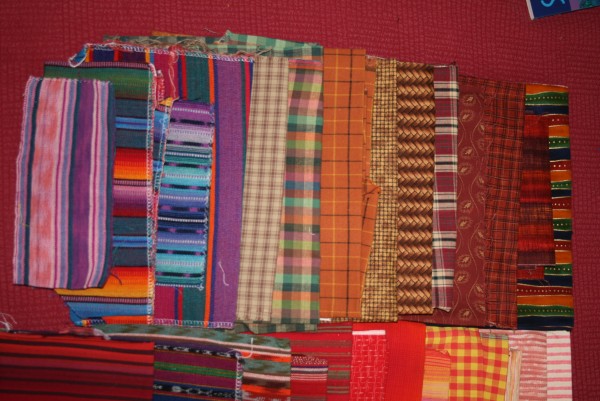
Finally, the flat fabric pieces become usable again. Each of us cuts from our collective “stash”, whatever sized pieces our projects will require.
My warning tip: if you embark on this journey yourself, it becomes very addictive! I find myself scouring local resale shops, searching for the “holy grail” of shirts!

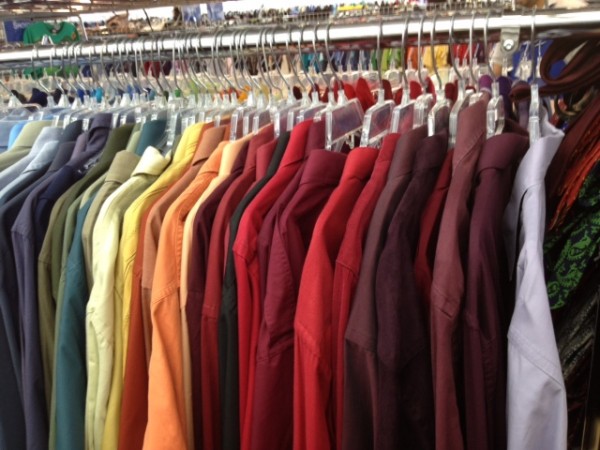
a wide range of shirtings from light to dark

A mix of lovely warm colored stripes and plaids. Some hand-woven Guatemalan fabrics included.
warm colored shirtings, with some cool color mixes
Stay tuned for more……… ┬ĀJan


